


How to Wear Pre-made Boutonniere
Adding a pre-made boutonniere to a suit is a timeless way to elevate a groom or groomsman’s look. Whether you’re dressing for your own big day or helping a friend, this tutorial will walk you through exactly how to wear a boutonniere—securely and stylishly—in just a few steps.
Our pre-made floral decorations are designed for ease, beauty, and budget-friendliness. Here’s how to wear one with confidence.
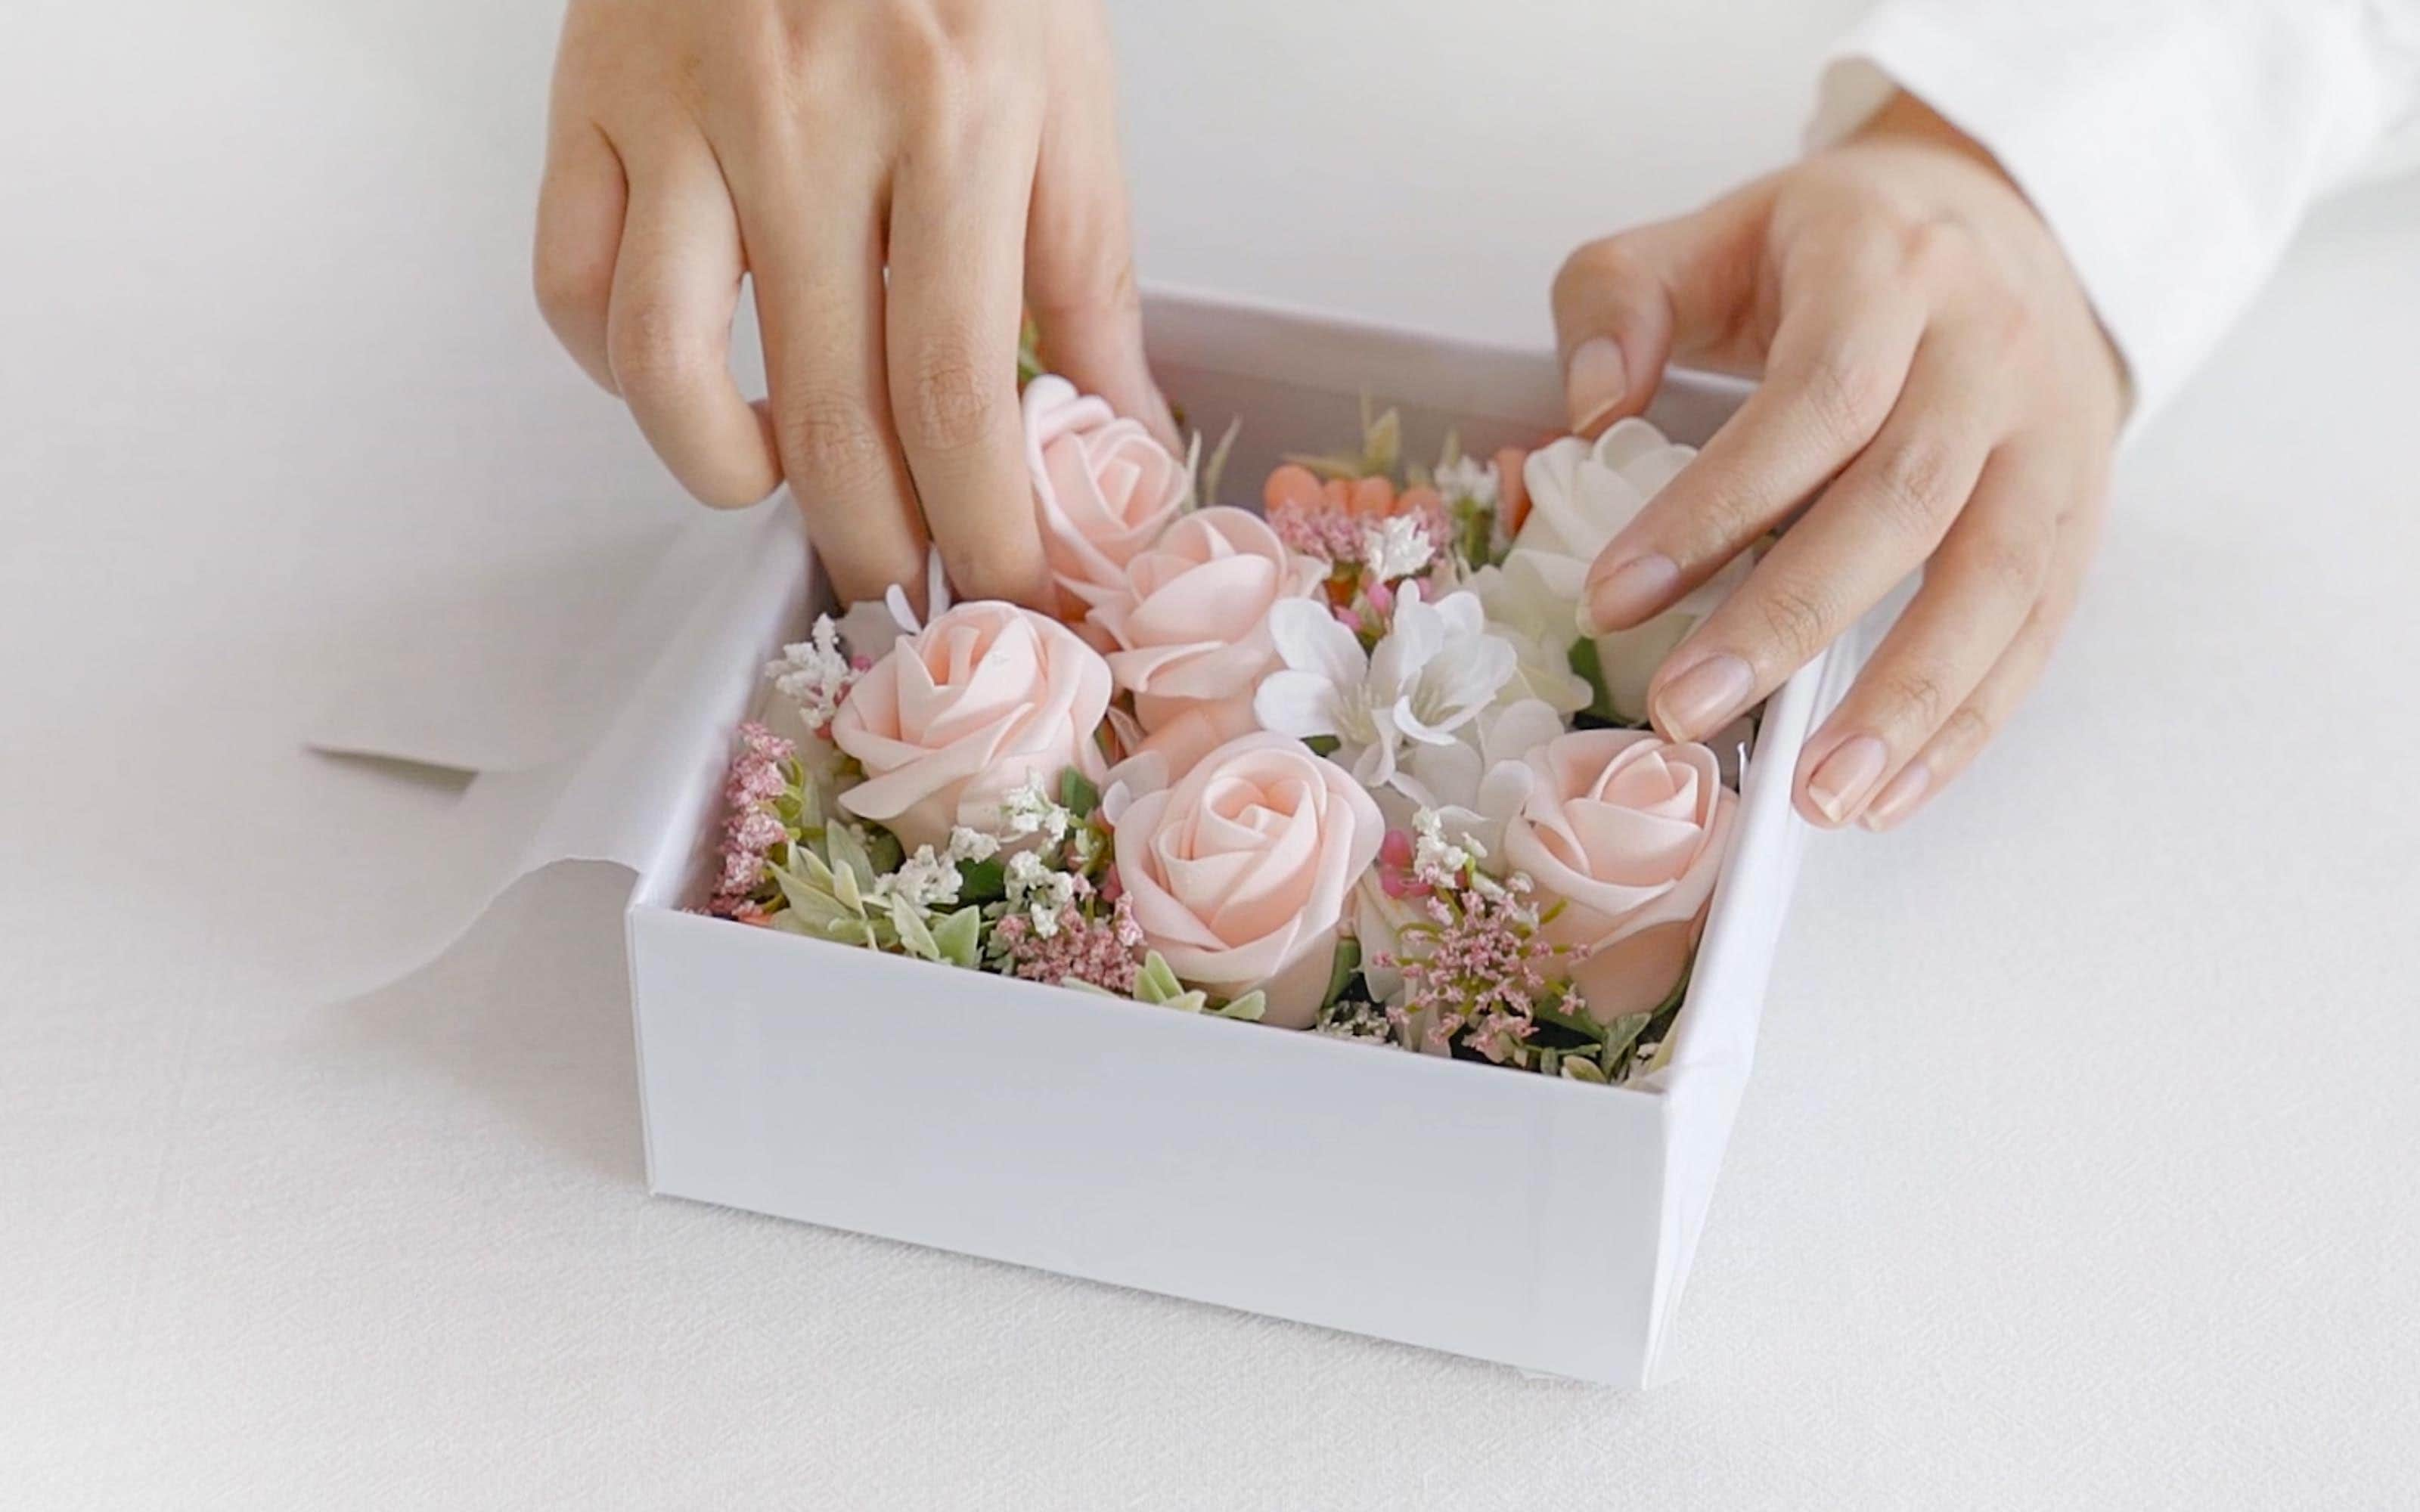
Step 1: Choose Your Favorite Pre-Made Boutonniere
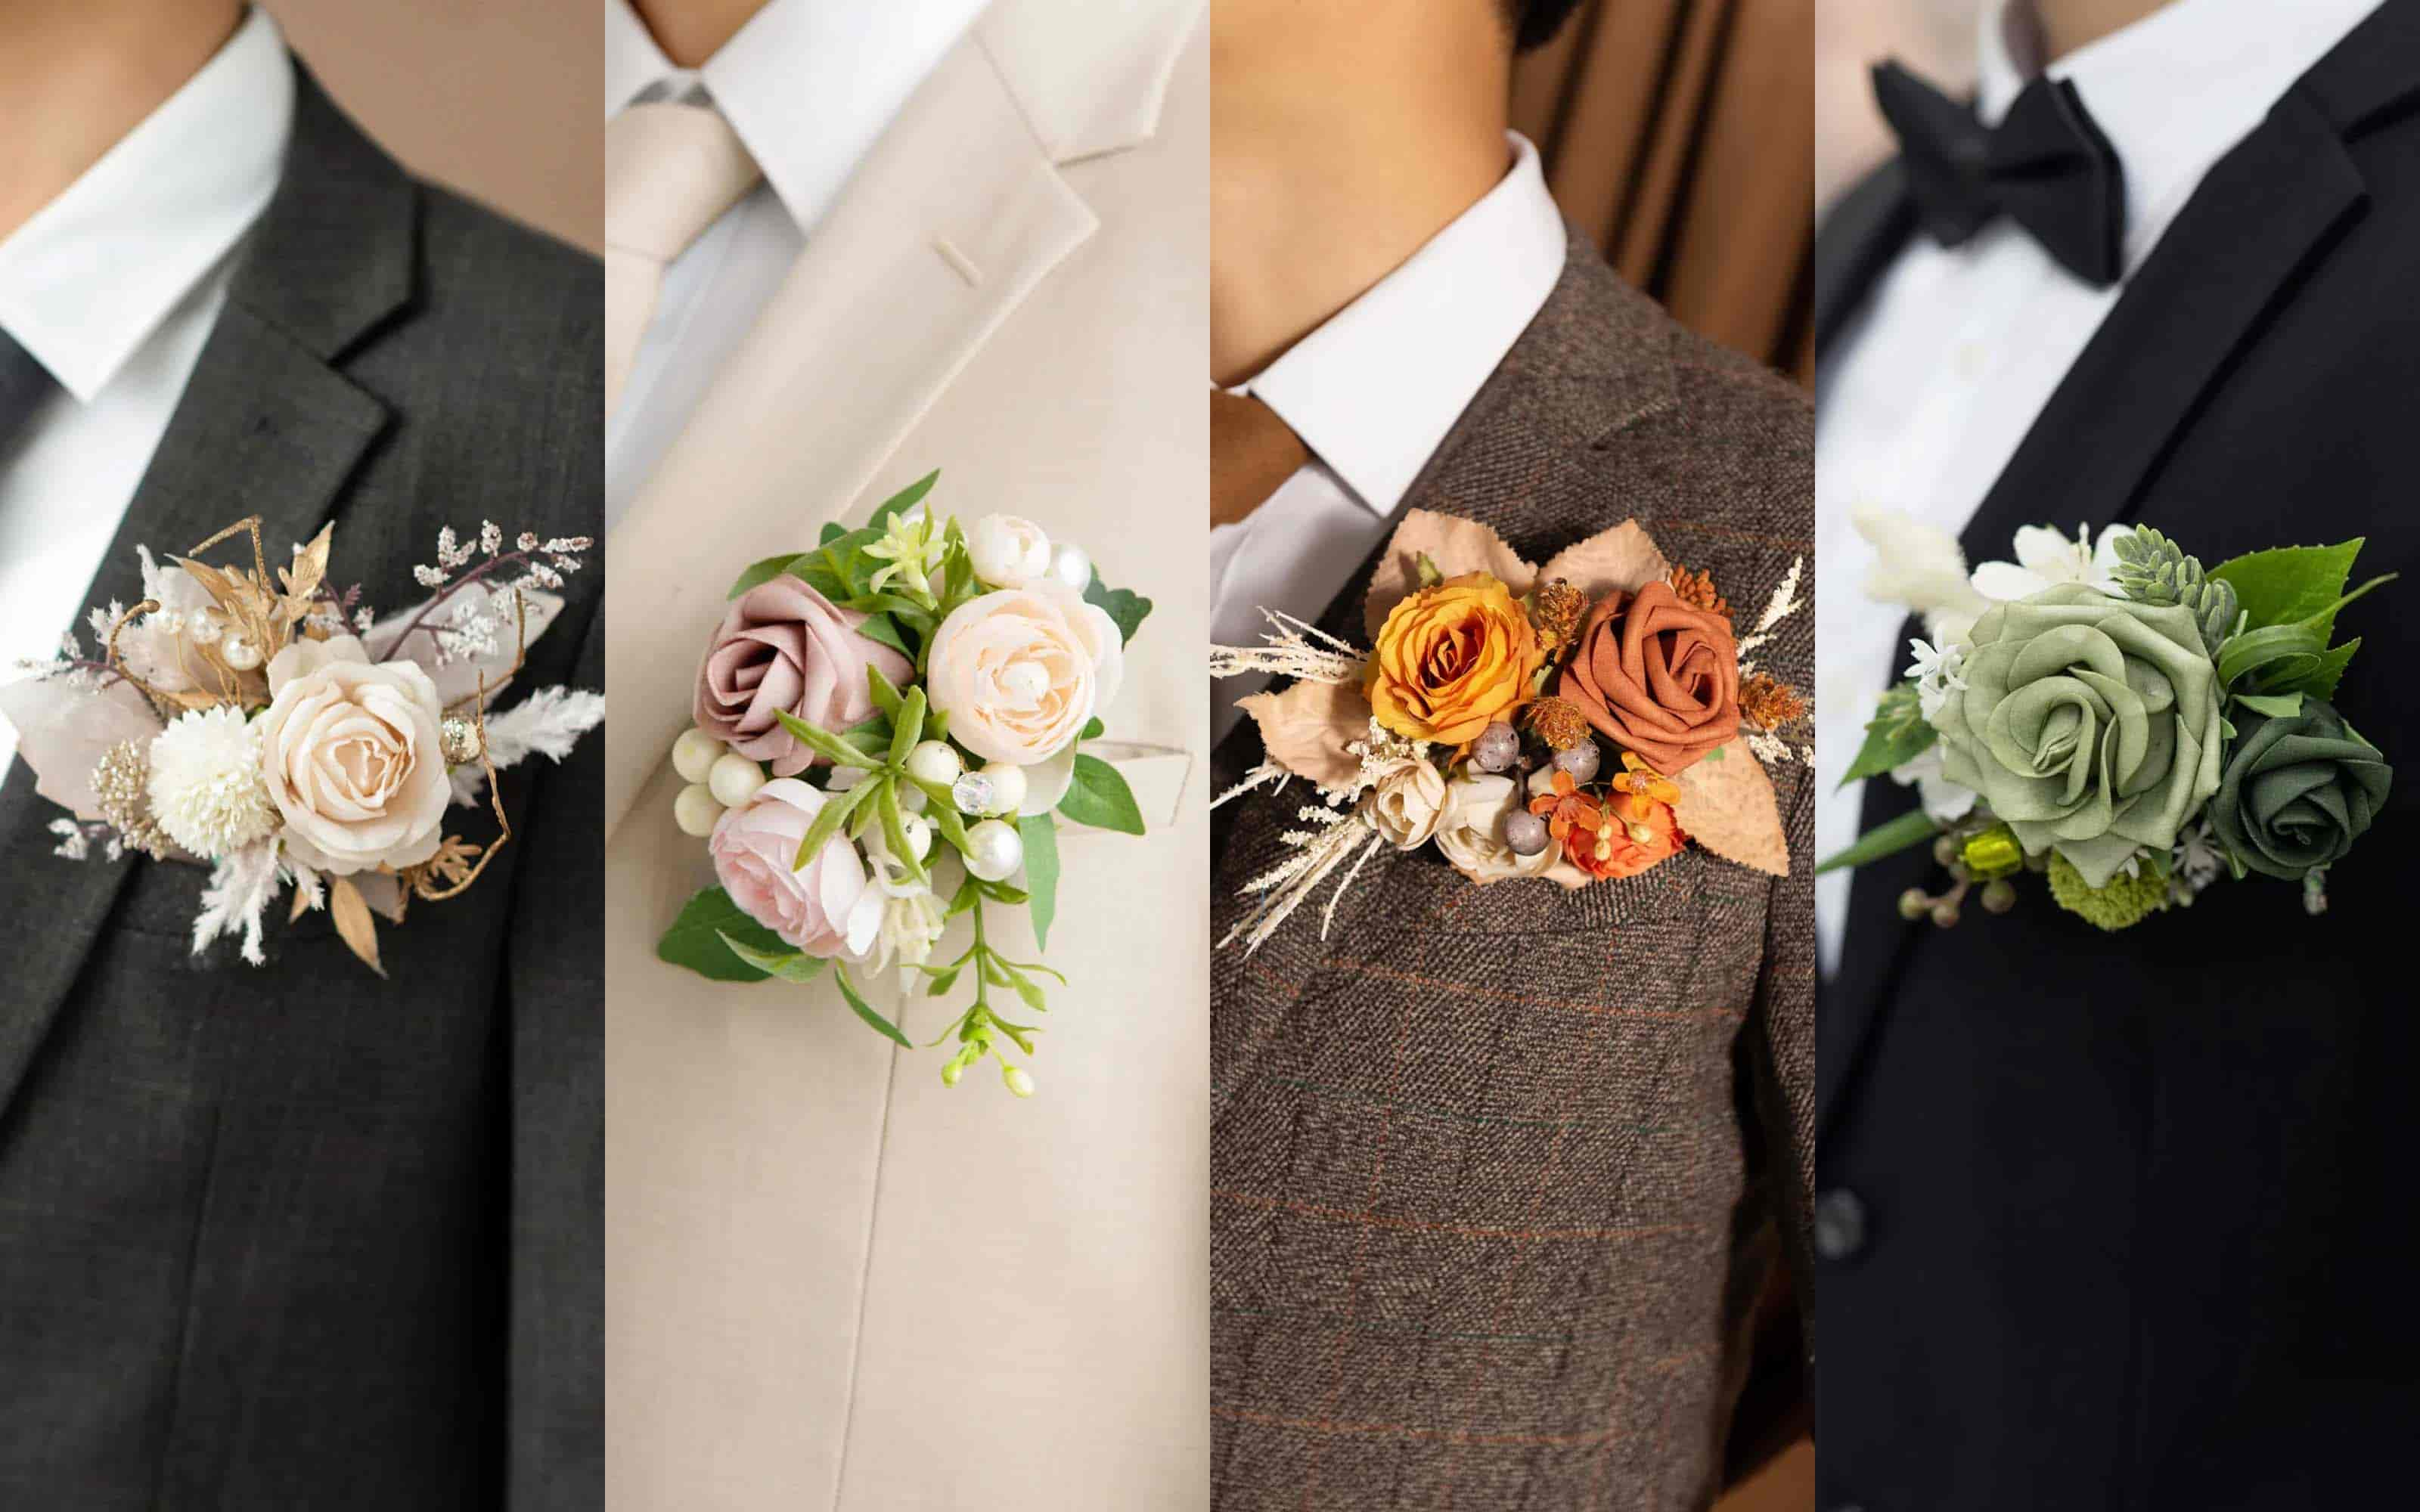
Remove the boutonniere from the box. Each one is carefully handcrafted, fully assembled, and ready to wear—no extra trimming or arranging needed.Take a moment to examine the floral arrangement, colors, and overall shape. Select one that complements the suit color and the wedding theme.
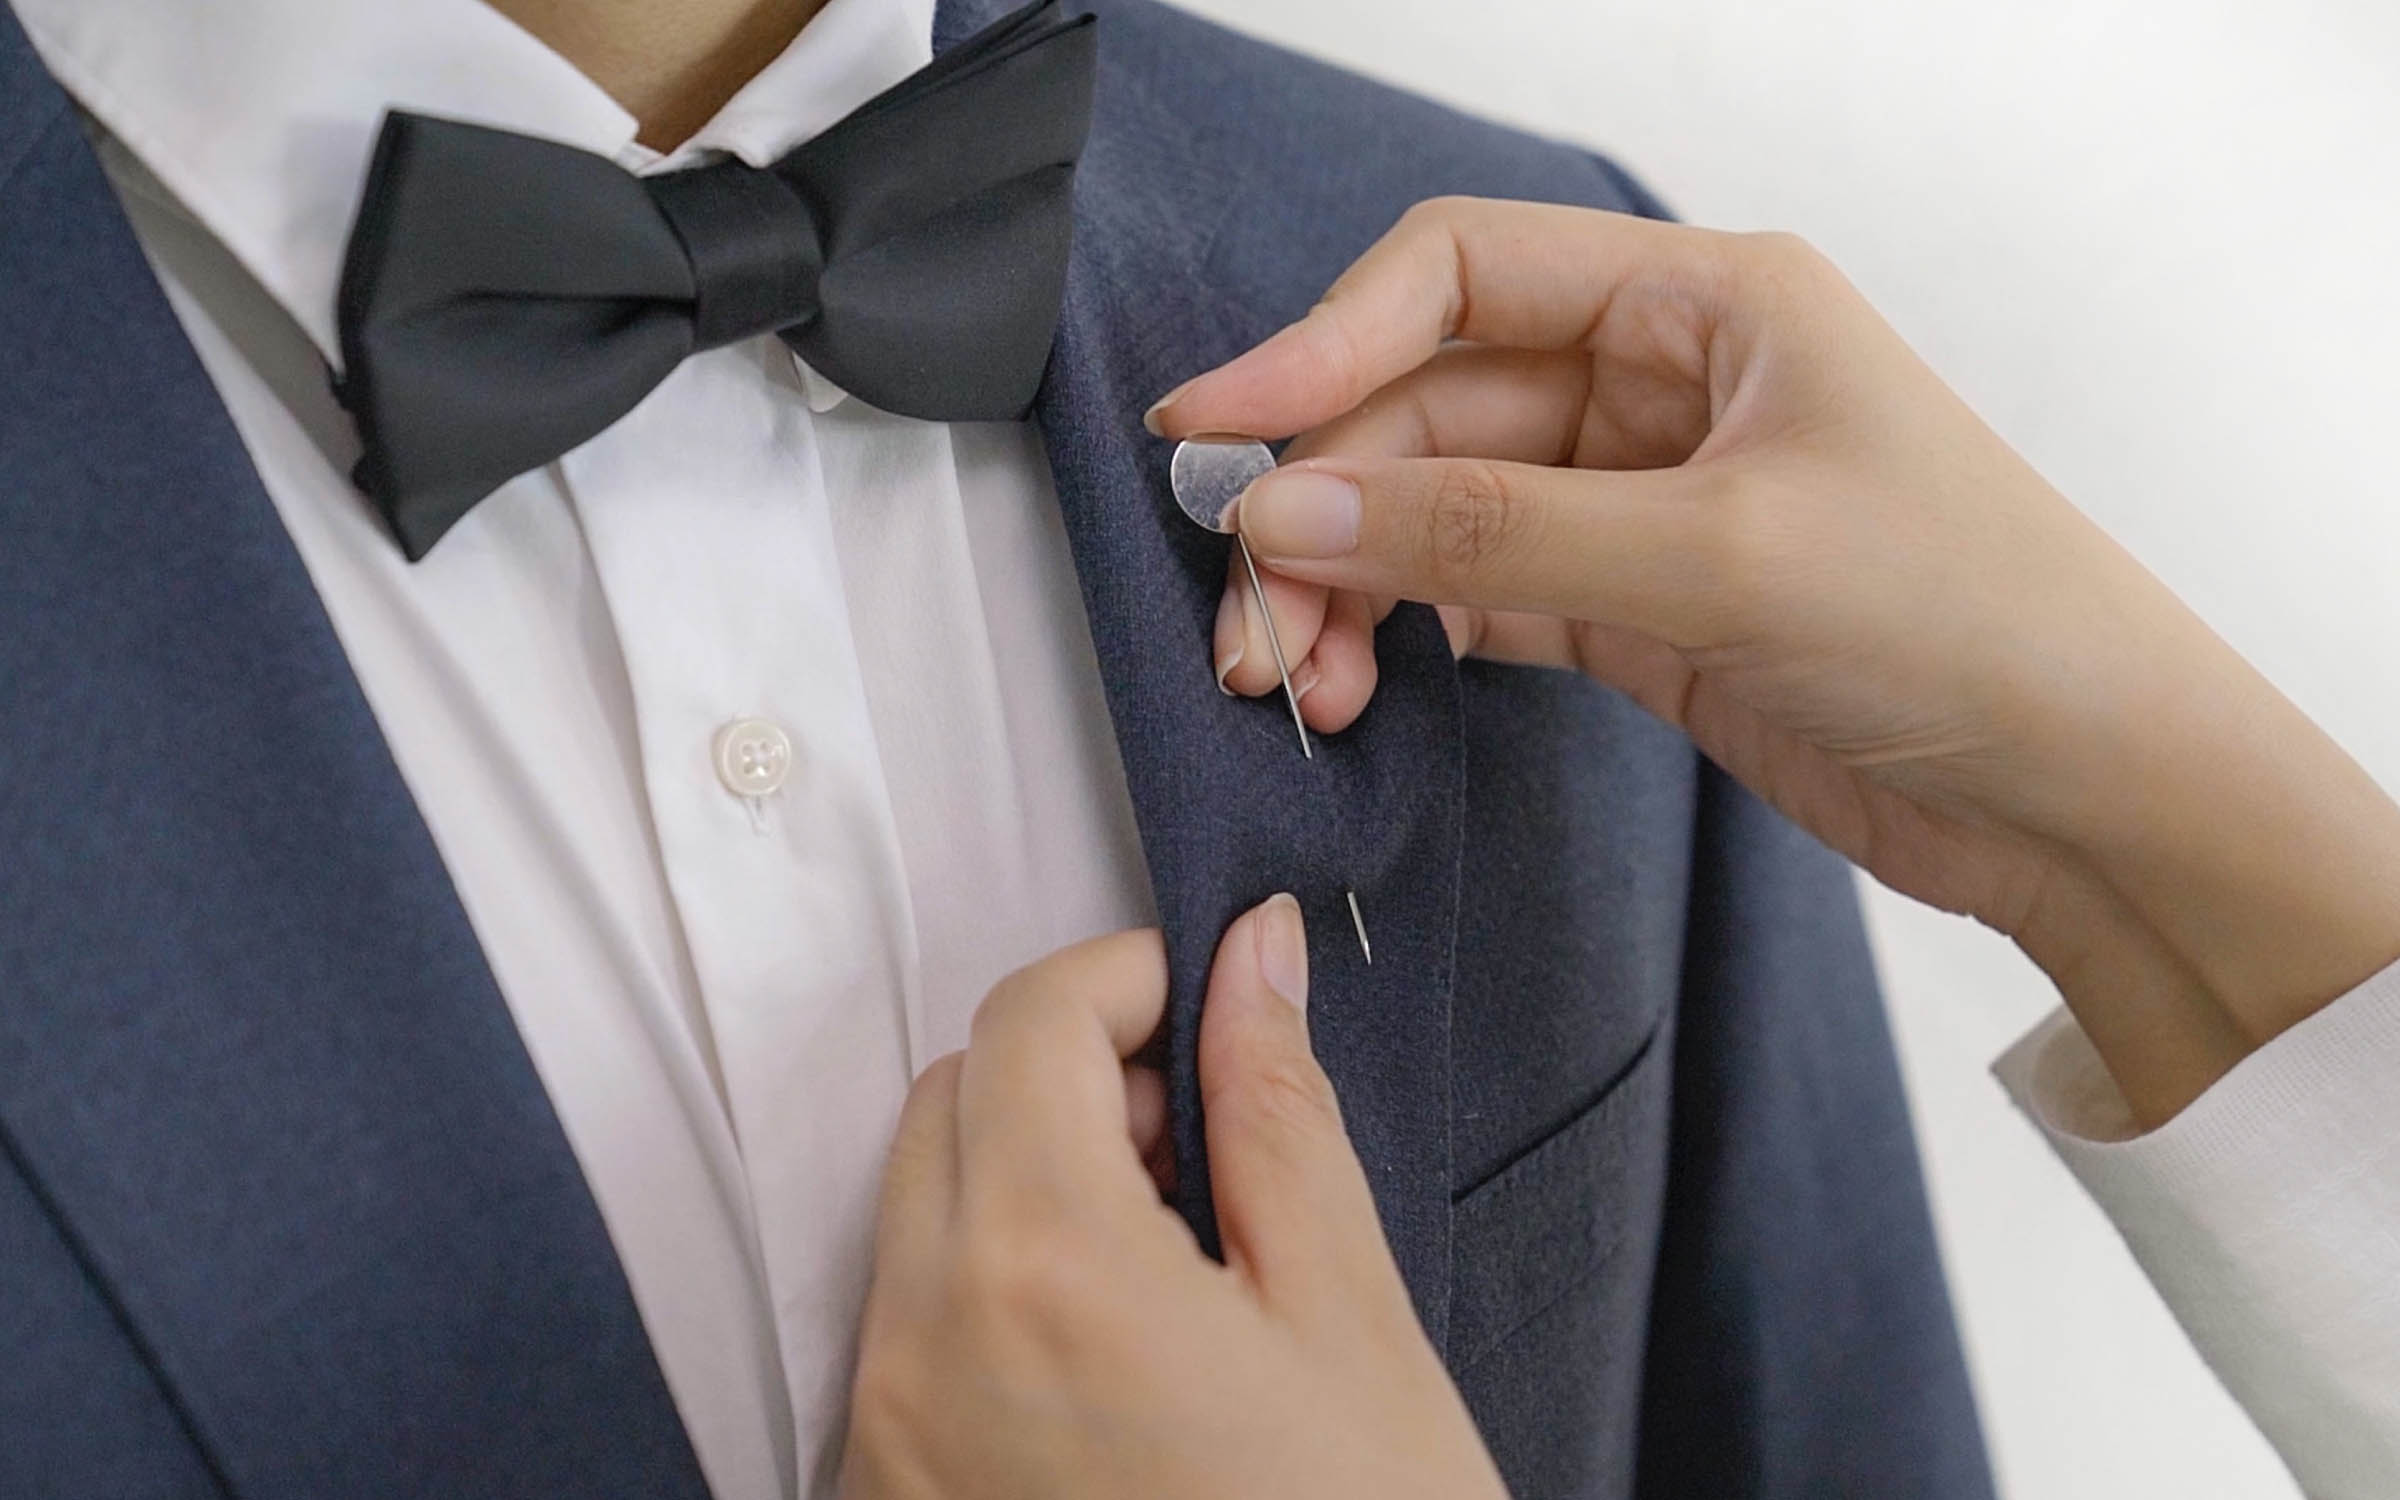
Step 2: Locate the Built-In Brooch Fasteners
Every pre-made boutonniere includes two discreet brooch-style pins:
Top pin: Located near the flowers
Bottom pin: Positioned just below the stem
This structure is designed for stability, ensuring your boutonniere stays perfectly upright and in place throughout the day.
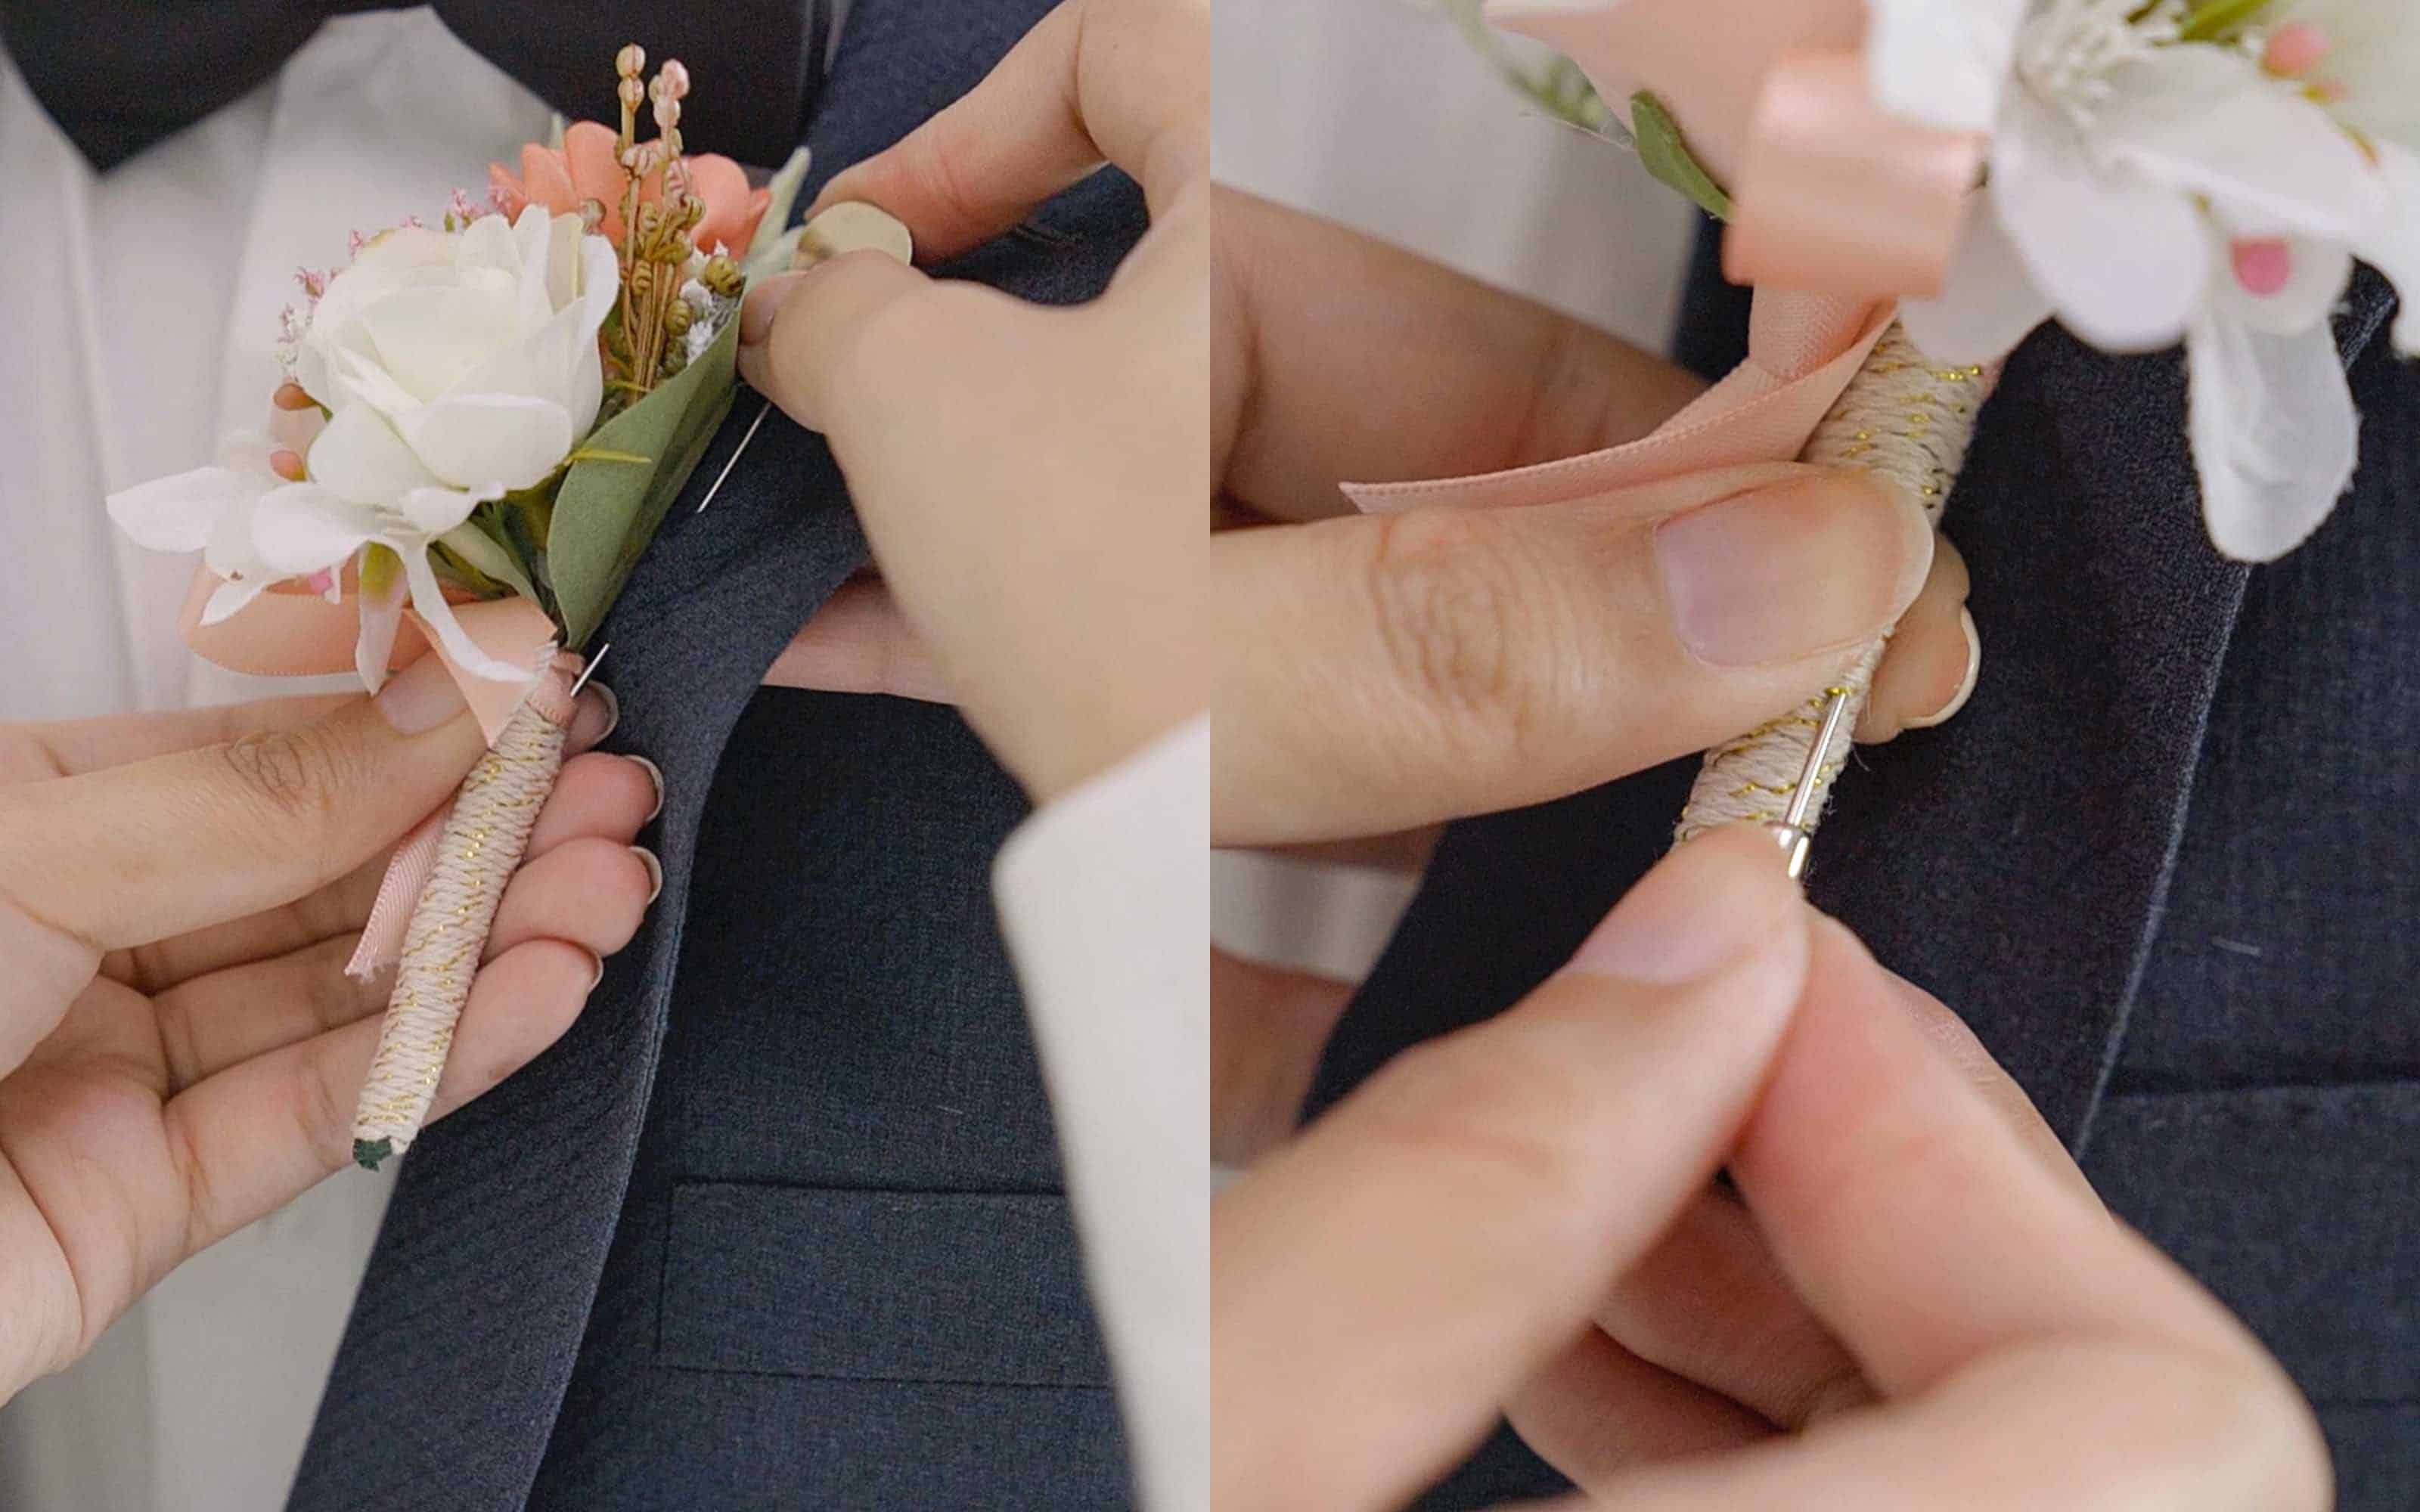
Step 3: Secure on the Left Lapel Using Both Pins
Follow these positioning and pinning instructions:
Place the boutonniere on the left lapel, near the upper chest. From inside the lapel, push the top pin outward to secure the upper section of the boutonniere. This helps keep the flowers from sagging. Gently press the stem flush against the lapel, then insert the bottom pin horizontally to lock it into place.
Pro Tip: The dual-pin method keeps the boutonniere perfectly aligned and secure—even through hours of hugs, photos, and dancing
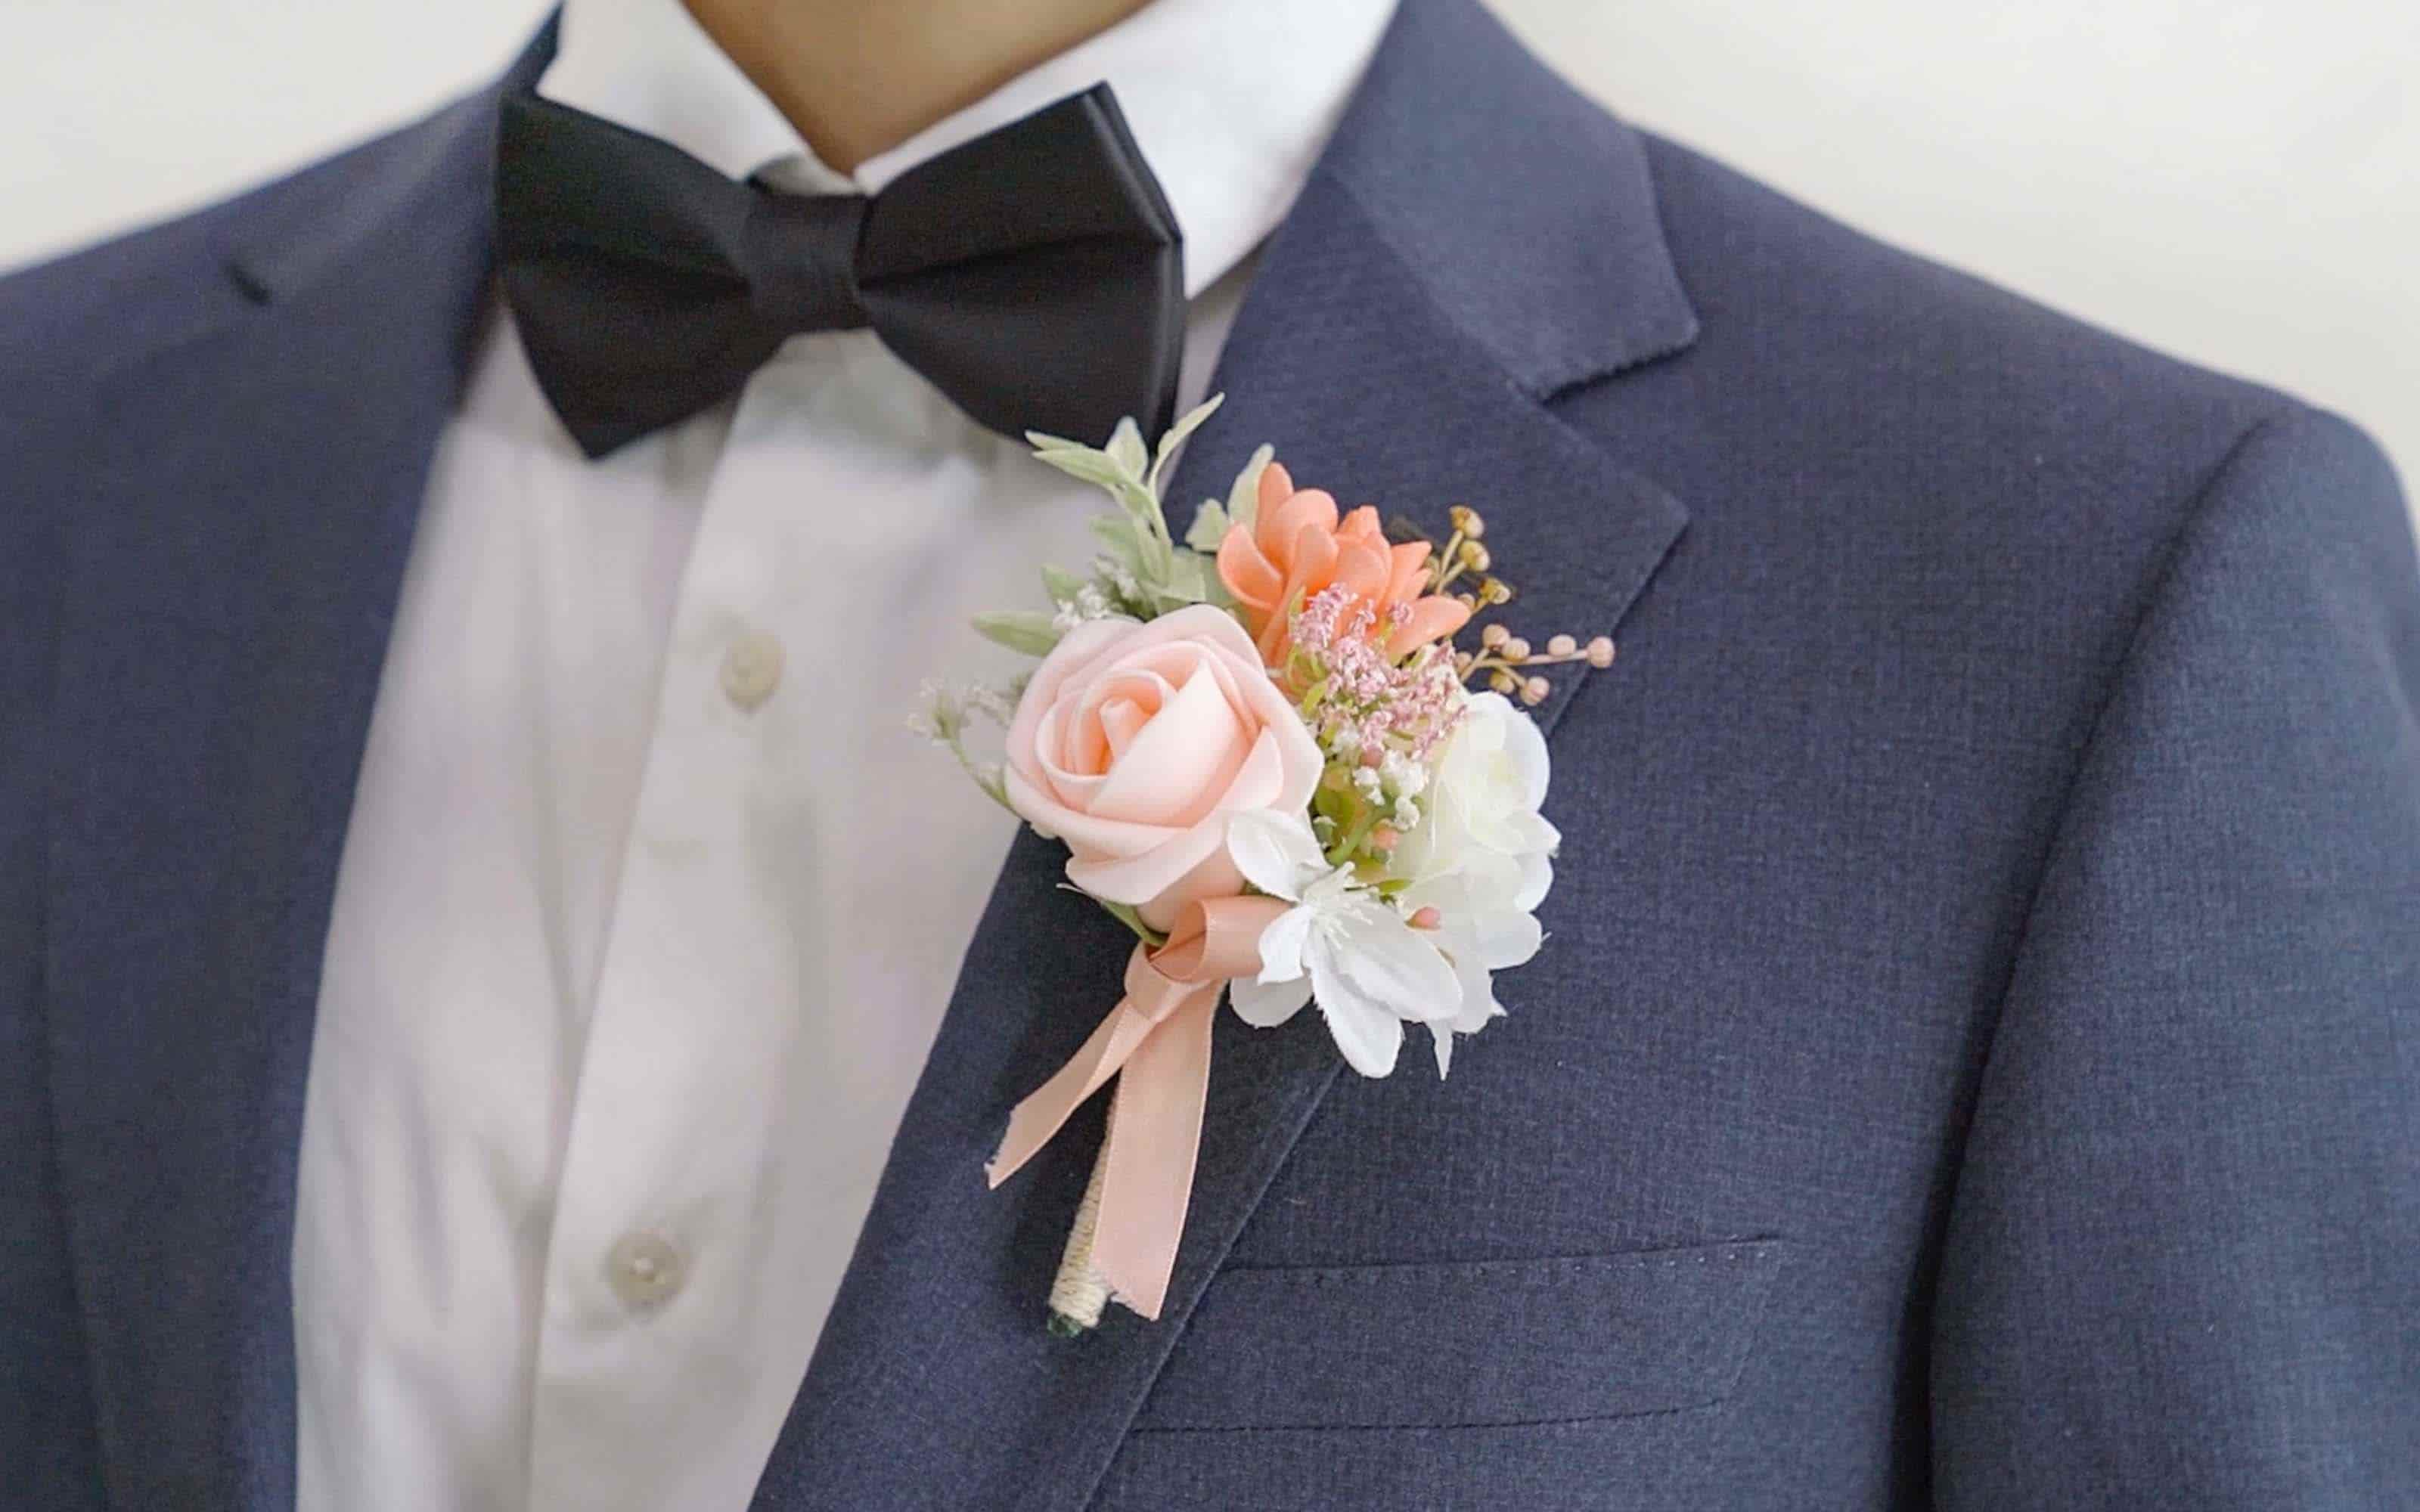
Step 4: Make Final Adjustments for a Natural Look
Gently tilt the boutonniere so the flowers bloom slightly upward and outward. This adds depth and a lifelike flourish, as if the flowers are blooming between the lapels.
PRO TIPS:
- Bonus Styling Tips for Pre-Made Boutonnieres:
- Match Colors Thoughtfully
- Light suits pair beautifully with bold hues like burgundy, navy, or rustic red.
- Dark suits look stunning with white, ivory, or gold-accented boutonnieres.
-
Avoid Oversized Flowers
- Choose a boutonniere that’s proportionate to the lapel width. Overly large arrangements can throw off balance and look awkward in photos.
-
Coordinate with the Bridal Bouquet
- Harmonize the groom’s boutonniere with the bride’s bouquet for a cohesive, elegant wedding aesthetic.
-
Consider the Photography Angle
- Ask the photographer to shoot boutonniere close-ups from a slightly elevated angle. This highlights the intricate floral design without distortion.
Final Look: Refined, Secure, and Stylish
A well-placed pre-made boutonniere adds sophistication to any suit while showcasing your attention to detail. By following this quick guide, you ensure that the groom and his party look sharp and stylish from the first look to the last dance.
There are various styles of corsages available for reference by clicking the link.
FAQs: Wearing a Pre-Made Boutonniere
1.Which side should a boutonniere be worn on?
Traditionally, it should be worn on the left lapel, near the heart.
2.Do I need a pocket square if I’m wearing a boutonniere?
You can wear both, but keep colors complementary. Avoid clashing patterns or textures.
3.Can I reuse a pre-made boutonniere?
Yes—if handled carefully and stored properly, pre-made boutonnieres can be reused for keepsakes or future events.
4.How long does it take to pin one on?
Less than 3 minutes with a pre-made boutonniere—faster and cleaner than DIY options.
5.Do I need help to put it on?
Not necessarily. It’s a simple process, but having a second person helps ensure perfect positioning.
6.Can the boutonniere fall off?
Not if secured with both pins. Our dual-fastener design keeps it stable through the ceremony and reception.


