How to Make Wedding Aisle Decor for Chairs
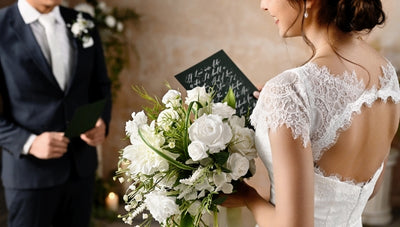
When you walk down the aisle on your wedding day, you’re crossing over into a new era of your life. You can make your journey down the aisle even more beautiful by creating DIY wedding aisle decor.
Today, we’re here to show you how to create beautiful aisle decor using Ling’s moment flowers and greenery. These elegant floral arrangements are designed to fit on the backs of chairs or pews. You could also use them for the chairs at your wedding reception, or as a compliment for your head table (also see our sweetheart table decor ideas).
Since Ling’s moment flowers won’t fade or wilt, you can reuse them after your wedding day for birthdays, baby showers, home decor, and even more DIY projects. Feel free to invite your friends and family to help with the creative process, too. Your wedding journey is even more special when you share it with the people you love!
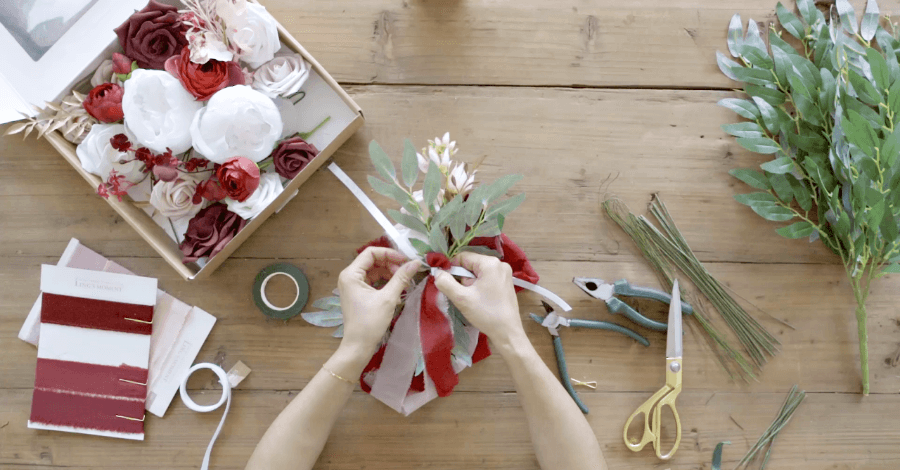
What you’ll need to create a floral aisle decoration:
- 2 Ling's designer flower boxes
- 1 greenery spray
- 4 sets of chiffon ribbon, approximately 1.5 inches wide x 4.5 feet long.
- 1 spool of thin ribbon
- Floral wire
- Green floral tape
- Scissors
- Wire cutters
- Pliers
- Your creative spirit
These materials will make approximately 8 floral aisle decorations. But this depends on how large you’d like your decorations to be. You may need more flower box sets or greenery sprays if you plan on making a larger quantity of aisle decor. See our DIY flower quantity guide for more information.
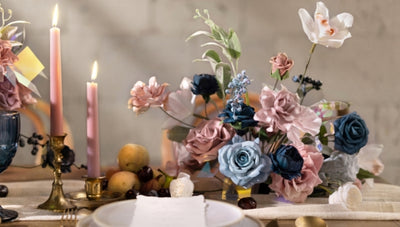
We used a burgundy and marsala flower box and a spray of willow leaves for our wedding aisle decor. But you can use any type of flowers and greenery that you’d like for your design. Feel free to browse our flower box sets until you find a color scheme that speaks to you.
How to create a floral aisle decoration:
Step 1: Create your floral arrangement
We’ll begin by creating a miniature floral arrangement for our aisle decor. You can use any combination of flowers that you like from your flower box set. We used a large burgundy rose and two smaller roses in soft pink and white as our main flowers.

Arrange your flowers however you like. Once you’re happy with the way they look, it’s time to lock them in place. Take a piece of floral wire and wrap it around the stems with your pliers. Once you’ve verified that all of your flowers are secure, use your wire cutters to trim off the excess.
Step 2: Add accent flowers
The great thing about DIY is adding some personality with your signature style. This takes your floral arrangement to the next level.
Take a few smaller flowers from your flower box set and add them to your main floral arrangement as accents. There’s no right or wrong way to do this. Feel free to experiment with different combinations until it feels right.

Once you’re happy with your accent flowers, secure them with floral wire and trim off the excess with your wire cutters.
Step 3: Add greenery
Every floral arrangement needs a touch of greenery. This adds elements of texture and interest to your design.
Snip off small branches of leaves from your greenery spray with wire cutters and add them to your floral arrangement. You can use as many or as few branches as you’d like here, depending on how full you’d like your arrangement to be.
Once you’re happy with the way it looks, use more floral wire to secure the greenery to the rest of your floral arrangement. Make sure that every piece of greenery is locked in tight–you don’t want anything to come loose afterward.

Step 4: Wrap the stems with green tape.
We’re almost done with our floral arrangement! We just need one final layer of security.
Wrap all the flower and greenery stems with green floral tape to lock your floral arrangement in place. This will also hide the floral wire from view and create a professional finishing touch. Once you’ve thoroughly wrapped all of your stems with tape, trim the excess with your scissors.

Step 5: Create the ribbon accent
Now, it’s time to elevate your design and create the ribbon accent. You’ll need two chiffon ribbons approximately 1.5 inches wide x 4.5 feet long. We used two different colors for variety, but this is optional.
Place your two ribbons together and fold them in half. Bunch the ribbons together in the middle to form a small loop. Then, take another piece of thin ribbon and tie the two pieces together.

Tip: Don’t cut your thin ribbon too short. We’re going to use it to secure the ribbons to the main floral arrangement in the next step. Leave plenty of excess on either side. You can always trim it later.
Step 6: Add the ribbon to the floral arrangement
Once you’ve secured your ribbons together, it’s time to combine them with your floral arrangement.
Tie the thin piece of ribbon around the flower stems, attaching the ribbons to the floral arrangement. Double-knot to hold it in place. The chiffon ribbons should create a cascading effect, like an elegant waterfall. You can use the excess from your thin ribbon to secure your wedding aisle decor to the back of a chair.
All finished!
Congratulations. You’ve just finished your DIY wedding aisle decor! All you need to do now is tie it to a chair or pew.

Continue to create more floral arrangements until you’ve completed as many as you need for your ceremony or reception. Feel free to tag us on Instagram with pictures of your creations. We can’t wait to see the amazing things you’ll make!
Remember, if you’re short on time or don’t want to create your decorations yourself, Ling’s moment also offers pre-made wedding aisle and chair decor. The arrangements come ready-made, so all you have to do is tie them in place. It’s a great way to save time on your wedding journey and still have a full repertoire of beautiful, affordable floral arrangements.