How to Make a Greenery Wedding Backdrop
Looking to add one last elegant touch to your wedding decor? We’ve got an incredibly beautiful and easy-to-make greenery photo backdrop you can create in under an hour.
This would be an incredible addition to your altar or make a great selfie station for your excited guests!
What You’ll Need to Make a Elegant Wedding Backdrop
Let’s begin by gathering your materials and supplies. To make this DIY backdrop, you’ll need:
- 2 Supporting Flower Boxes - “Shades of Emerald & Tawny Beige”
- 3 Supporting Flower Boxes - “Emerald & Tawny Beige”
- 3 boxes of the Deluxe Greenery Combo
- 5 boxes of the Accent Combo
- 10 boxes of Greenery Bushes
- Floral Foam blocks (we used 9)
- Wire Mesh
- 2 Flower Stands (sizes of your choosing: we used a tall & short one)
- Scissors
- Green Zip ties
- Pliers
- Your Creative Spirit
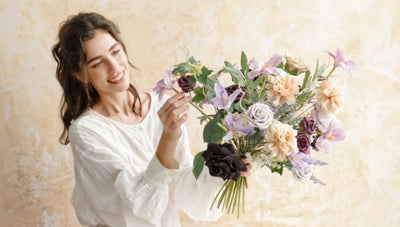
Your wedding is the chance to showcase your unique style, taste and creativity. Rather than settling for generic wedding decor, the designer flower boxes from Ling’s Moment are the perfect starter kit to create your own custom floral design. In a variety of sizes, types and colors, there’s a box and color palette for any wedding vision.
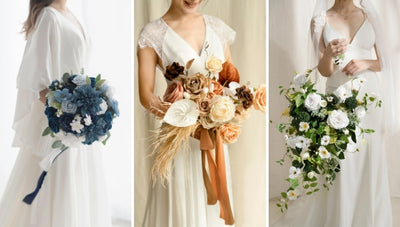
To create this elegant backdrop we used designer flower boxes in emerald & tawny beige, but you can use any of our 12+ color palettes to create your own!
How to Make a Greenery Background Step-by-Step
Whether your wedding is boho-chic or timeless romantic, our 6-step tutorial will help you create gorgeous wedding backdrop to effortlessly match your theme!
Step 1. Wrap the Foam Blocks
Take one floral foam block and wrap it in wire mesh. Be sure the mesh covers the entire block. You will do this to all of the other foam blocks so that they are prepped & ready for the next phase.

Step 2. Attach Foam Blocks to the Flower Stands
Ttake one wrapped foam block and place it vertically inside of the shortest flower stand. Then secure it to the stand with cable ties and trim the excess with scissors.
 |
 |
Repeat this process to each foam block as you secure it to your 2 stands. On the shortest stand there should be 2 mesh foam blocks covering the bottom and one foam block placed in the middle of the stand.
Next, you will secure 2 mesh blocks at the bottom of the tallest stand and then place 4 blocks from the middle to the top of the stand with about 5 inches of space in between each block.

Tip: Securing your block in two places will ensure that your arrangement is sturdy and lasts through the wedding day.
Step 3. Add the Greenery
Now it’s time to add your plants. Grab a few greenery branches and begin placing them into the top and sides of each floral foam block. Follow the shape of the stand as you cover it with branches. If you’d like to give the backdrop a more natural look, you can make the bottom of the stand appear fuller than the top.
 |
 |
Tip: Grab a few of the greenery leaves and cut a few inches off of each stem. Save those stems in a pile for the next step.
 |
 |
Step 4. Attach Flowers to the Stems
Pick a flower of your choosing and attach it to one of the stems you prepared in the previous step. You will do this by using the zip ties to attach the flower to the stem. This will make your flower look longer. Once the zip tie is secured you can snip off the tail of the zip tie to create a tidier arrangement. Apply this method to most of the flowers in your arrangement.

Step 5: Add Flowers
Now it’s time to take the elongated flowers and place it inside of the foam blocks on your stand to fill in the gaps from the greenery. You can create different lengths of flowers by continuing to shorten some of the stems. This will add dimension to your arrangement.

Step 6. Finishing Touches
Here is where you will take the remaining flowers in your arrangement and place a flower of each color inside of the stand, dispersing them through the entire arrangement. Remember: cutting the plants down to different sizes will make the arrangement more life-like.
The last step is adding in fruits, branches, and other leaves to create a decorative and lively arrangement. When this is completed you will have 2 elegant wedding backdrops.

And You’re Finished!
Congratulations! You just finished your very own unique floral backdrop. We recommend displaying the design alongside other floral arrangements to complete your wedding decor .

We hope that you loved this DIY wedding backdrop idea. If you happen to try it out, please don’t hesitate to tell us how it turned out and feel free to tag us @lingsmoment on IG to show us your personal spin on our greenery backdrop idea.
If you don’t have the time to make a backdrop of your own we suggest trying our pre-made wedding backdrops featured on our site.