How to DIY Dark Teal & Burnt Orange Floral Vase Arrangements
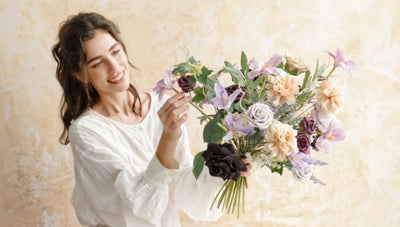
With their glorious blue-green glow, teal flowers are simply stunning on their own. But if you’re wondering how to elevate them even further, contrasting orange hues can give them a beautiful boost. Working with a dark teal and burnt orange wedding color palette creates plenty of opportunity to experiment with color for lively, bold decor.
One of the easiest ways to bring these two shades into their full glory is through simple floral vase arrangements. By playing with tones and texture, the color combo creates a stunning visual effect that will look equally magnificent as wedding decor or on your dining room table.
Follow our step-by-step instructions on how to DIY your own vase arrangements, and find more ideas to dress up your dark teal and burnt orange wedding table decor.
How Do You Make a Simple Floral Vase Arrangement?
The best floral vase arrangements may look complicated, but even total beginners can create breathtaking decor with the right balance of coordinating flowers and branches.
Having a color palette in mind (like dark teal and burnt orange!) is the perfect place to start when combining different botanical elements for an elegant and impactful design.
If you’ve never arranged your own flowers before, don’t worry, because we’re giving you all the tips and tricks to transform you into a DIY floral vase arrangement expert with just a few simple steps.
What Do I Need for DIY Flower Arrangements in a Vase?
To recreate our eye-catching dark teal and burnt orange vase arrangements, you’ll need just a few necessities on hand before you dive in to designing:
- ½ Box: Designer Flower Box in Orange & Teal Green
- 3 Boxes: Accent Combo in Teal & Burnt Orange
- 6 to 12 Glass Vases or Bottles
- Sharp Scissors or Shears
- Your Creative Spirit
Our designer flower boxes give you a variety of flowers to create with, such as teal green austin rose, burnt orange avalanche rose, and red hydrangea, letting you mix and match while keeping the look both cohesive and unique. Crafting with artificial florals is also incredibly forgiving. No need to worry about conditioning, watering, or wilting — our florals keep their shape in any weather and can move where you need them.
How to Craft Your Floral Vase Arrangements
Step 1. Select Your Vase
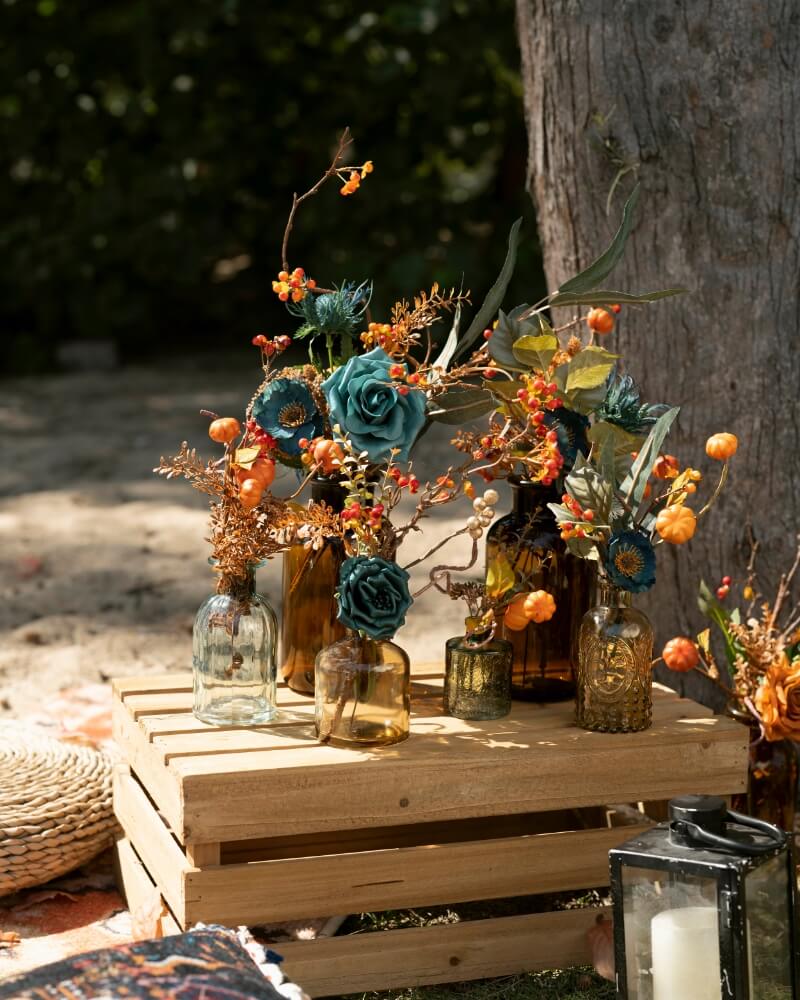
Pick the first vase you’ll be filling. For our demonstration we used an assortment of glass bottles in shades of amber, teal, and clear with varying heights, shapes, and textures for visual interest to maintain a cohesive theme.

Our glass colored vases for decoration in dark teal & burnt orange are ready-made to coordinate with your wedding color palette, or you can source your own vessels — thrift stores, estate sales, and grandma’s cabinets are all perfect places to find an eclectic mix of glassware for a unique look.
DIY Tip: Smaller openings easily keep stems supported in place, but wide mouth vases, glasses or mason jars can also be used with a little extra help to secure the design, like tying the stems together below the rim or using a flower frog or floral foam for support.
Step 2. Unpack Your Flowers and Greenery
Unpack your supplies, laying them out on the table where you can easily see and reach them. Having all the floral choices together will help you to visualize how you want to group them together in the containers.

Step 3. Snip Your Stems
Our DIY flower boxes arrive with nice long stems, making them easy to use for a wide array of floral designs. For these tabletop vase arrangements, though, you’ll want to snip each stem to size so they can be perfectly placed in the jars without exposing too much of the stem length.

As you pick up each stem, hold it up to the vase to find the best place to make the cut, considering how much height you’ll need. Long, thin, delicate branches, for example, add height and interest when kept long. On the other hand, rounded, thicker filler flowers might look good at the medium to low level.
 |
 |
DIY Tip: Be gentle with your initial cuts — keep stems longer as you try out different combinations. You can always adjust the stem length to be shorter as you go.
Step 4. Arrange Your Branches
Branches do more than look pretty in your arrangement — they create a framework that supports the flowers, perfectly accenting the blooms while holding them in place.
When inserting each branch in the vase, remember to:
- Include a variety of heights, colors, and textures.
- Keep the longest branches on the outside edges to maximize visual appeal.
- Bend and adjust the branches as needed for a more natural look.
Feel free to experiment, moving pieces around until you get just the right look. For example, try pairing graceful long eucalyptus leaves with the more round navy corn poppies and wintersweet for a pop of colorful jewel tones.
Step 5. Place the Flowers in the Vase
Select one or two of your favorite focal point flowers and insert them into the jar, using the branches as physical support. Choosing just a few allows each bloom to shine and highlights the textual elements they’re paired with.

As with the branches, adjust the stems to get just the right angle for a lovely, natural look. The flowers add softness to the interesting angles of the branches, contrasting with the sharp edges of thistle and mini pine branches.
Step 6. Repeat For Each Vessel
Voilà! You’ve mastered the art of making a simple flower arrangement in vase. Rinse and repeat until you’ve got a set of the most gorgeous vase arrangement centerpieces you’ve ever seen (and not just because you made them yourself!).
How do you make a floral vase arrangement really stand out? You can group them all together for visual effect, or intersperse them throughout the ceremony and reception space. And when your wedding is over, bring them home to create a colorful display for your kitchen table.

Ways to Display Your Vase Arrangements With Style
Vase flower arrangement ideas are plentiful, and our design is just one way you can use your creativity to design unique wedding decor. Don’t be nervous to “branch” out and explore different ways to make your dark teal and burnt orange wedding color palette pop:
Bring in Seasonal Influences
Teal and orange are perfect colors for an early autumn wedding, so why not incorporate some fall fun into the wedding decor, as well? From apples and pumpkins to maple leaves and acorns, seasonal staples add a cozy touch to your vibrant harvest tables and reception decor:
- Trimmed logs of varying heights display your vase arrangements for an interesting visual effect with a rustic fall twist.
- Use delicate and colorful leaf-shaped placemats under vintage china place settings for a mix of nature and elegance.
- Dress up a dessert table overflowing with apple cider donuts and pumpkin pie bites by using your floral vase arrangements as a colorful accent.

Try a Colorful Table Runner
It’s a shame to hide long, reclaimed wood tables beneath an opaque tablecloth — especially if there’s glowing woodgrain and decorative carved details. Try draping a gauzy table runner in teal or orange, and topping with a textural floral garland and your gorgeous vase arrangements running the length of the table.

Lighten Up the Tablescape
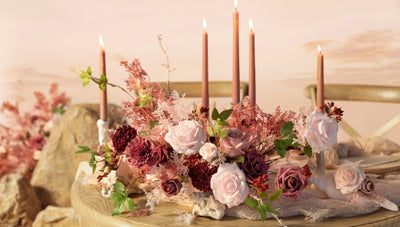
Nothing beats the ambiance emitted from the glowing flame of a flickering candle. Pairing dark teal and burnt orange vase arrangements with candles adds another level of visual interest, and the centerpieces will literally shine with the light reflecting from the glass vases:
- Tapered candlesticks in bold coordinating colors like deep blue blend with the palette while adding height and light.
- Tea lights provide low lighting, illuminating the glass vases from below.
- Hurricane lanterns add old fashioned charm to the tabletop when surrounded by a grouping of dark teal and burnt orange vase arrangements.

Add Rose Petals for a Romantic Touch
Who says flower girls have a monopoly on rose petals? Try encircling the floral vase arrangements with a scattering of champagne gold rose petals, adding softness and extra romance to your table settings and reception decor.

Customized Table Numbers
Tie in the autumnal feel of your dark teal and burnt orange wedding palette with customized table numbers peeking out from clustered vase arrangement centerpieces. Use colored cardstock, stylized calligraphy, or even switch it up and assign tables with symbolic seasonal items like apples and acorns or meaningful locales like your favorite cities to visit as a couple.
Guests love unexpected personal touches — especially when there’s a story behind them!
Take Wedding Flowers into Your Own Hands With Ling’s
If creating gorgeous vase arrangements sparks a love for all things DIY, check out our wedding tutorials to find other fun projects you can craft for your wedding with a personal touch.
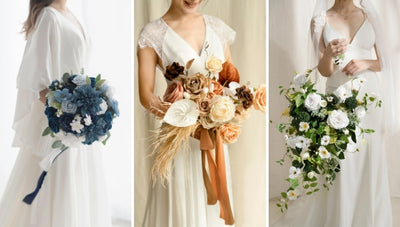
Not sure if you have the time or patience to create all of your wedding table centerpieces from scratch? No problem. At Ling’s, we have elegantly curated floral centerpieces that’s ready to use right out of the box — no snipping, sorting, or arranging required.
 |
 |
Be sure to share your stunning teal and orange floral vase arrangements and any other floral designs you create with @lingsmoment on Instagram!